Imagine Monday--In pink!

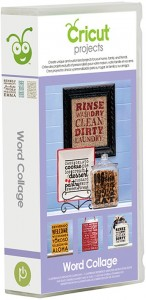
I just love the new cartridge Word Collage!
It offers so much potential! But, what I don't like is the idea of weeding the little pieces. My Imagine came to the rescue once again!


Cartridges used:
Imagine Nursery Tails
Cricut projects Word Collage
Papers used:
Vellum (6" square)
White card stock (12" square)
Pink cardstock (4.5 x 11)
Other Ingredients:
Tim Holtz Distress Ink Faded Rose
Piece of lace (6")
white ribbon (8")
Assorted inks
Sentiment of choice
3 light pink buttons
1
At the Imagine:
Select the word collage from the top row, second button.
Relative size to 4.5".
Fill with a solid color
Print, but do not cut.
Manually trim close to the edges of the print.
2.
At the Imagine:
Select the square from the Imagine shapes.
Relative size 5.5.
Fill with a print.
Cut and print.
3.
Ink the ribbon and lace with Distress Ink.
Allow to dry completely.
4.
Crease and fold your pink cardstock to A-2 size (4.25 x 5.5)
Assemble card as pictured.
A sweet card for a sweet baby!
I hope you find a scrap of inspiration today! Until next time, keep generating those gems!


Comments
Post a Comment