Cricut Design Space: Adding Shapes in a Shadow Box Card
Hi all! This is the second of two in the Shadow Box series.
I hope that you are having as much fun as I!
Okay, silly me...this was the first card I did. The card featured in my video:

If you have just joined me, you can find the directions for the Basic 4.25 square card here.
You can find the directions for the staggered mats here.
So, now that the mats are done, let's add shapes.
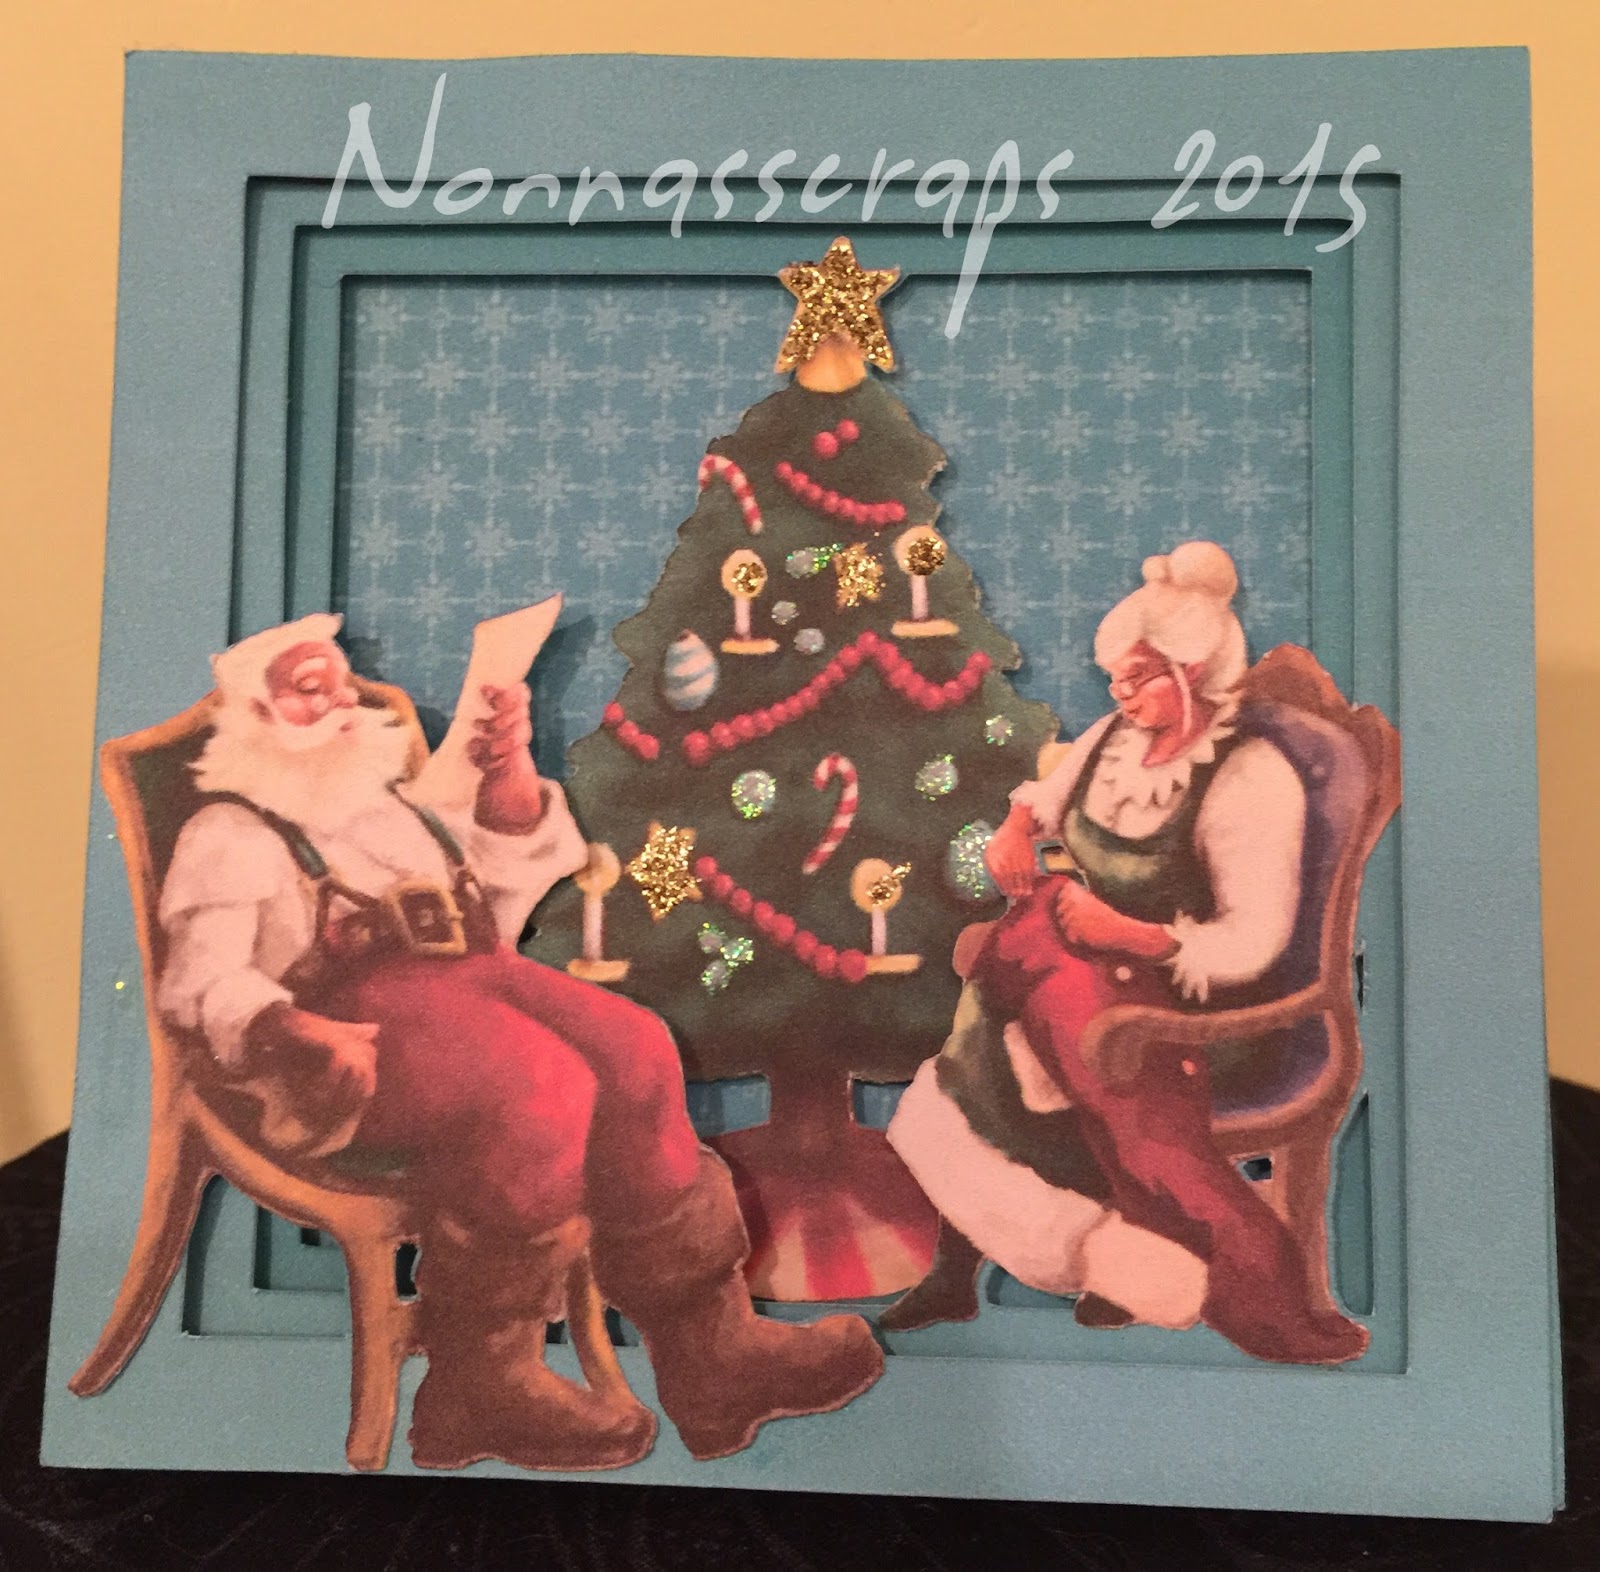
The shapes I have chosen are from the Cricut Cartridge "Santa's Village."
They are Print Then Cut....too cute!
Let's go to Design Space!
I apologize for the abrupt end to this video. When layers are cut, all that is left is assembling the card. First add the background to the card base.
Then pop-dot the layers from the bottom up. I place pop-dots about 2" apart
across the layer. I have found that the cardstock does not ripple with this much support.
That is all there is to it! Super simple.
And another shadow box card, using MissKateCuttable's Deer with Birch file and Print then Cut,
Cricut's Baby Steps font and Stickles' Diamond Glitter glue.

Thanks for stopping by!
Until next time....


Comments
Post a Comment