Hello from SassyLady's blog!
I really am on SassyLady's blog today and I am so excited to be her guest designer. But, I have a humble confession---Life has been so very busy that I almost forgot! In my haste I decided that we are all busy and can really use some quick crafting ideas. Hence today's design. It is based upon a technique that I have used before, but with a new twist! Let's craft!

This very easy card can be just the answer to a "quick" card need or even when the mojo is not!

Cardstock: red: 6" square, Natural: 6" square, Natural base 4.25 x 8.5.
Fun foam 2" strip
2" circle cut from scrap (will be a template)
I-rock heat setting tool with red gems
Stamp block
3 shades of green ink ( I used Tim Holtz Distress)
Red bow
Sentiment of choice
Cricut Expression
Cricut deep cut blade/housing
Xyron adhesive products
Before we put together this card I've included the technique videos for cutting fun foam stamps on your Cricut Expression. Please note these are not specific for the leaf, but the techniques so that you will later be able to cut your own leaf "stamp." (Don't worry, they are pretty short!)
Video 1: Cutting Fun Foam
Video 2: Create a Gypsy Template and Set-up a Cut
Video 3: Cut, Un-mat and Use Fun Foam
Video 4: Stamping with Fun Foam
Now that you understand how to work with Foam, let's choose a simple leaf and cut it about 1" long.

Great! Run it through the adhesive machine and set it aside.
Using the Gypsy or Cricut Craft Room, set up 2 cuts.
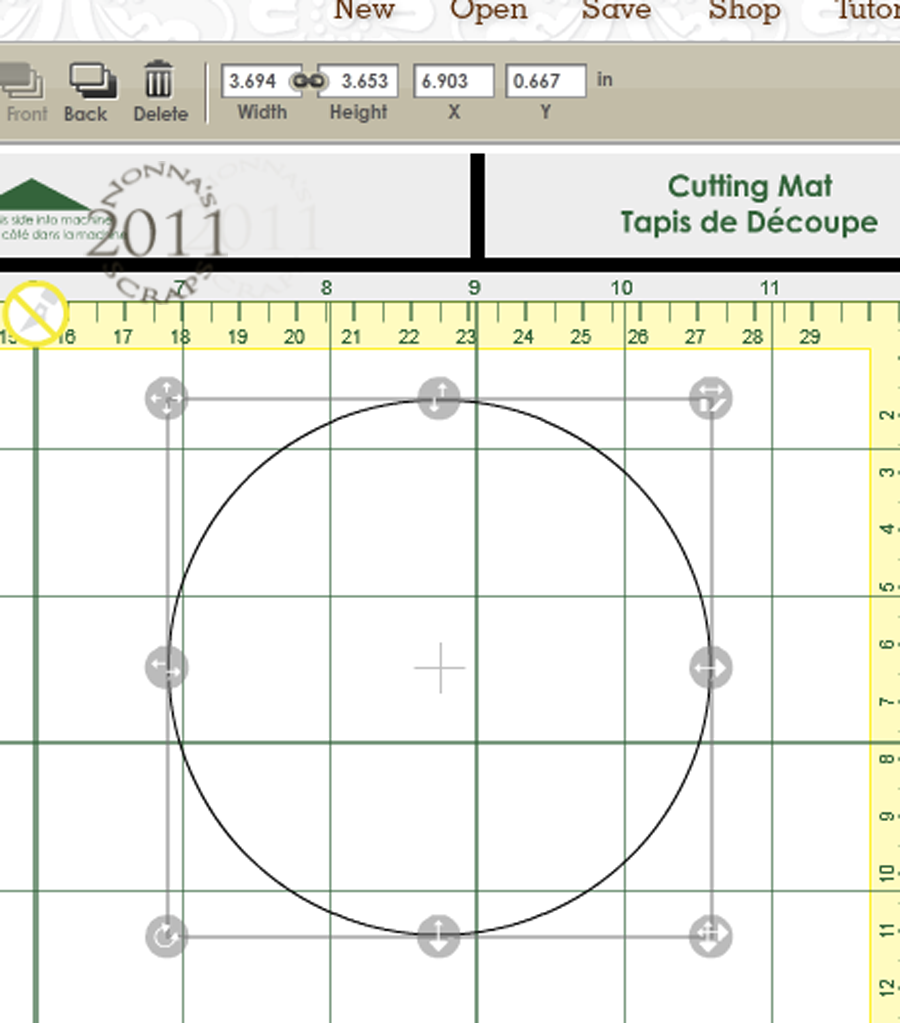
The first will be a circle at the width of 3.6 inches. This will be cut from natural card stock.
Next, set up a scalloped circle at 4.2 inches. This will be cut from red card stock.

Place paper on the mat to correspond with the layout of the circles.

Cut both circles. Ink the edges.
Trace the 2" circle template onto the round circle, centering the template.

Adhere the leaf to a stamp block. Begin with the darkest shade of green. Ink the "stamp."

Uh oh. I used the lightest. Oh well, Start with the darkest and move around the circle, with the pointed edge of the leaf outward. You may need to slightly overlap the pencil line.

Now, move around the inside of the circle. This time the leaves should point inward.

Repeat with the middle shade and then the lightest shade of the ink.

Add red gems in groups of three to imitate berries!

Glue the red scalloped circle to the card base. Pop-dot your wreath to the mat.
Add a small red bow.
Stamp with your sentiment! Voila! Cute, quick and done.


Awesome job Jeannie. Quick maybe but so elegant. TFS
ReplyDeleteThis is so so pretty. I just love your technique and know I have to try this. I love the bling you added too. Thanks for sharing your great project and tutorial with us today at She's A Sassy Lady.
ReplyDelete