Playing in the MBX Playground---Part III
It is so good to be back with you! Let's make play with some new toys, what do you say? I hope you are remember our last two playdates! We had so much fun playing with some of the toys in MBX. Today, we're going to do more with less, I promise!
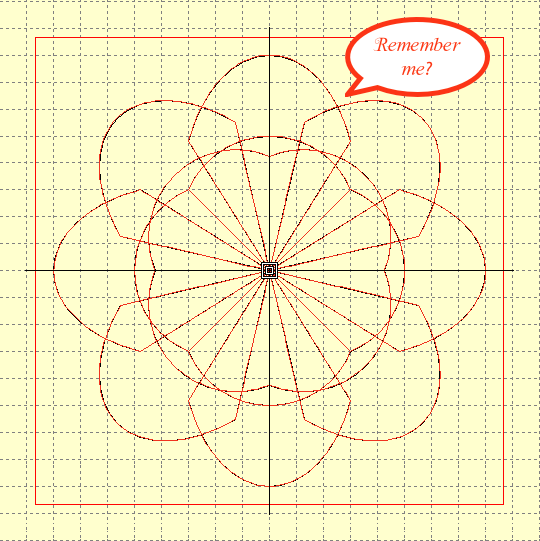
First, you are going to need the finished shape from last week, in the .JAN format:
Open it in MBX. Oh yeah! Don't forget the dongle!!!!!! Once open, select the entire design. You can double click on it, CTRL A or use click on the star (pictured below). This is similar to the digitizing (inserting a LMC) that we played with in part I.


The first icon will send the design directly to your machine. The second will send the design to the Horizon Link. I usually use the third, to the USB stick. Ask the machine to play......


Let's change this baby's size! Remember the biggest swing is not necessarily the best swing for certain adventures---same with digitizing.
Wait!
Remember the file formats? We can size this designs in all sorts of ways because it is a .JAN file.
1. Select : Object Details
2. Select : Dimensions
3. Under Dimensions change the Width and Height to 6
4. Select "OK"
The designs should change sizes immediately.
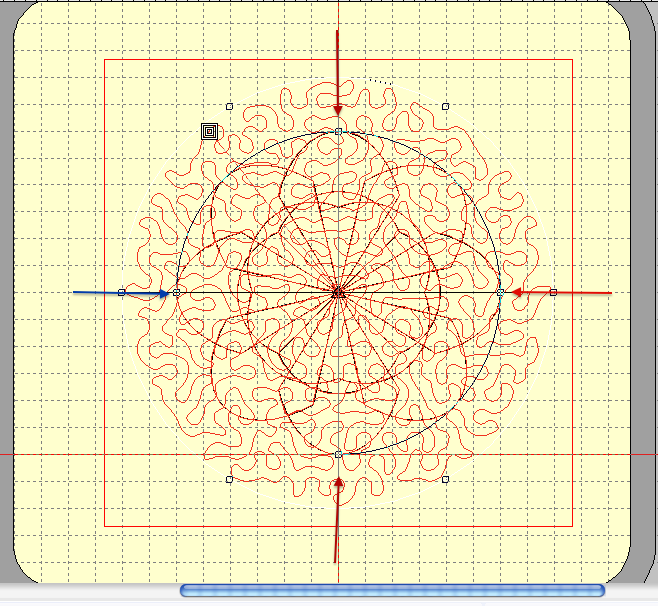
Now, let's go on treasure hunt inside one of the 'digitizing caves.' Do you see the filled circle? In the lower right corner of the icon box is a TINY arrow. Click on that.
WOW!
Hidden treasure!
Select the digitizing tool at the end of the row: Parallel Stipple Fill Circle. (Hover the mouse on the tool to see the pop-up explanation. )
This tool creates an automatic circle by doing this:
Click in the hoop and hold the Left Mouse button down.
Release the mouse button.
That was easy! Right?
Position the circle, centered over the first design. DO NOT worry about covering the first design with stippling. We will take care of that.
Let's make sure the stippling is not too dense (this could have been done earlier, oh well!)
Select : Object Details.
Select tab: Fill Stitch.
Look at Stipple Values. Be sure the numbers are as indicated in the picture below.
While in Object Details.....
Select tab: Dimensions.
Under Dimensions change the Width and Height to 8.
Let's play with one more toy, okay? Let's change this circle to a rounded frame...
Select: Cut Hole (as indicated above).
Bring out those Digitizing skills (you know you have them!) Follow the arrows above:
left mouse click at the blue arrow;
Go clock wise, placing 3 right mouse clicks, one at each of the red arrows. (Trust me, it does not take many clicks!)
Select : Enter (to close the circle)
Select : Enter (to cut the hole
Beautiful! The black lines will not stitch, they are simply outlines in the graphic representation. Save this image (JAN file). If you would like to stitch this design, locate these tools from your menu:
I love this! Hmmm, now to make the quilt to go with this motif. Until next time!


Comments
Post a Comment